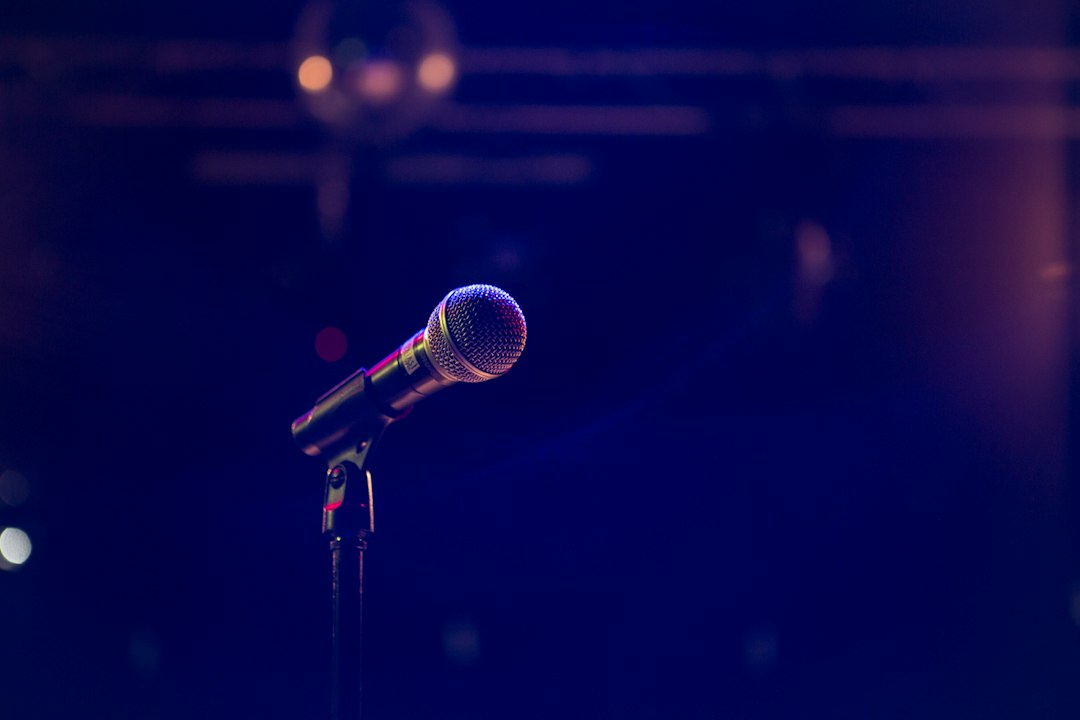

The first document to check is the microphone specification sheet, followed by a direct measurement if the model or accessory is unfamiliar. Record the widest body section, the length that the foam must cover and any change in shape near the grille. A loose windshield can twist as the interviewer moves the microphone between people, while an overly tight cover may be difficult to install and can compress unevenly. Fit describes the relationship between the cover and microphone body. Retention describes how reliably the cover stays in place. Both affect whether the printed area remains facing the camera.
A windshield also has a practical acoustic purpose. It reduces the effect of moving air, including breath and outdoor turbulence, before that air reaches the microphone capsule. The capsule is the sensitive component that converts sound into an electrical signal. Open cell foam is commonly used because its structure can disrupt quick air movement without blocking speech in the same way a solid barrier might. Performance depends on the foam, its shape and the microphone design. Printing or finishing should not turn a suitable cover into a stiff, misshapen or difficult to handle accessory.
Artwork needs to be assessed on the curved object rather than only on a flat logo file. A mark that looks balanced in a document can shift towards the rear once it wraps around the foam. Fine lettering may disappear at a distance, while a detailed emblem can lose its edges in shade or glare. Ask the supplier for a visual proof showing the intended camera-facing side. A useful studio habit is to hold a dummy microphone at the same height used in interviews and record a short phone video. That quick test often exposes a logo that is technically present but visually ineffective.
Scale and contrast should be judged against the actual filming conditions. A presenter covering a community event may hold the microphone near chest level, leaving only a small portion visible in a medium shot. A logo that reads clearly on a computer monitor may become indistinct once the microphone is angled towards a speaker. Stronger results usually come from clear shapes, limited detail and colours that remain separate under both bright and subdued lighting. Avoid placing important lettering along a steep curve or close to an area likely to be hidden by a hand. The visible face matters as much as the printed size.
Camera framing should influence the approval process. A tight interview shot may show enough foam for a compact mark, but a wider report can reduce the same design to a patch of colour. Outdoor work introduces movement, changing exposure and backgrounds that may compete with the artwork. Indoor work offers more control, but dark clothing, studio shadows or a low camera angle can still reduce visibility. Reviewing personalised microphone windshield mockups lets the production team inspect proportions, orientation and colour before paying for a run. The proof should show more than a flat logo on a white page.
A short approval record prevents avoidable rework. Note the microphone model, measured dimensions, intended use, preferred foam colour and the side that should face the lens. Attach the clean logo file and specify any colours that must remain consistent with existing signage or graphics. Confirm whether the artwork will be printed around the full circumference or placed on one visible panel. Keep a spare cover nearby during busy event work, and store branded windshields so they are not crushed under cables or camera accessories. Cleaning instructions also deserve attention, since several presenters may handle the same equipment during a day.
The design team should test the finished cover before it reaches a live interview. Fit it to the actual microphone, rotate it by hand, check that it does not slide and inspect the logo from the expected camera distance. Listen to a short recording in light airflow, without assuming that branding alone improves the audio. A broadcast microphone branding brief is successful only if the cover remains usable, readable and consistent with the production setup. The approval note, mockup and physical test should agree before the equipment is packed for the first assignment.